I'm going to break down these instructions into sections for each of the main pieces: a reversible corner piece (left- or right-handed corner), a straight wall section, and a stairway section that provides steps up to the height of the walkway atop the wall. I may later add other components such as towers.
Since these pieces are designed to connect to one another, it's very important that they be precisely made. Small imperfections can be sanded off, but alignment is very important. You'll need a square angle (I use a bunch of old Legos put together like this) and some attention to detail. It may also be useful to use very tacky glue for some of these joints. I recommend mixing your normal glue with a bit of plaster to create a glue that is thicker and will cure harder than straight glue.
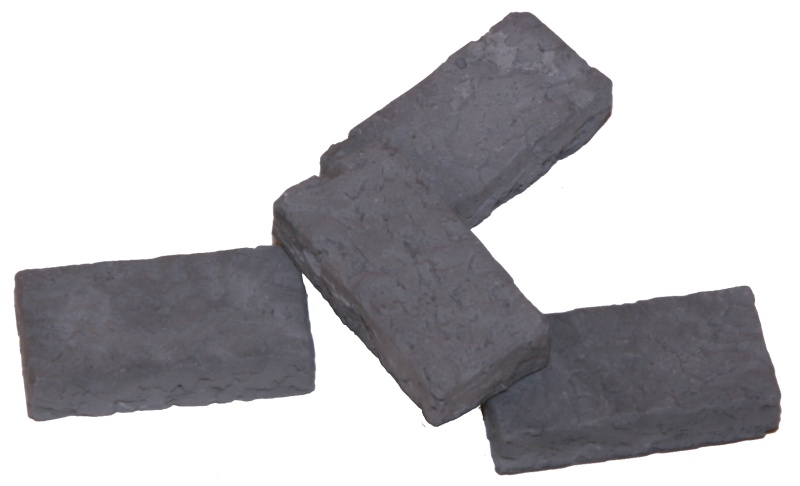
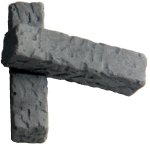
Straight wall sections are the quickest and easiest sections to cast, build, and paint. You'll probably want a dozen of them or more to build any sort of nontrivial castle, fortress, or town wall. To build this piece, you will need:
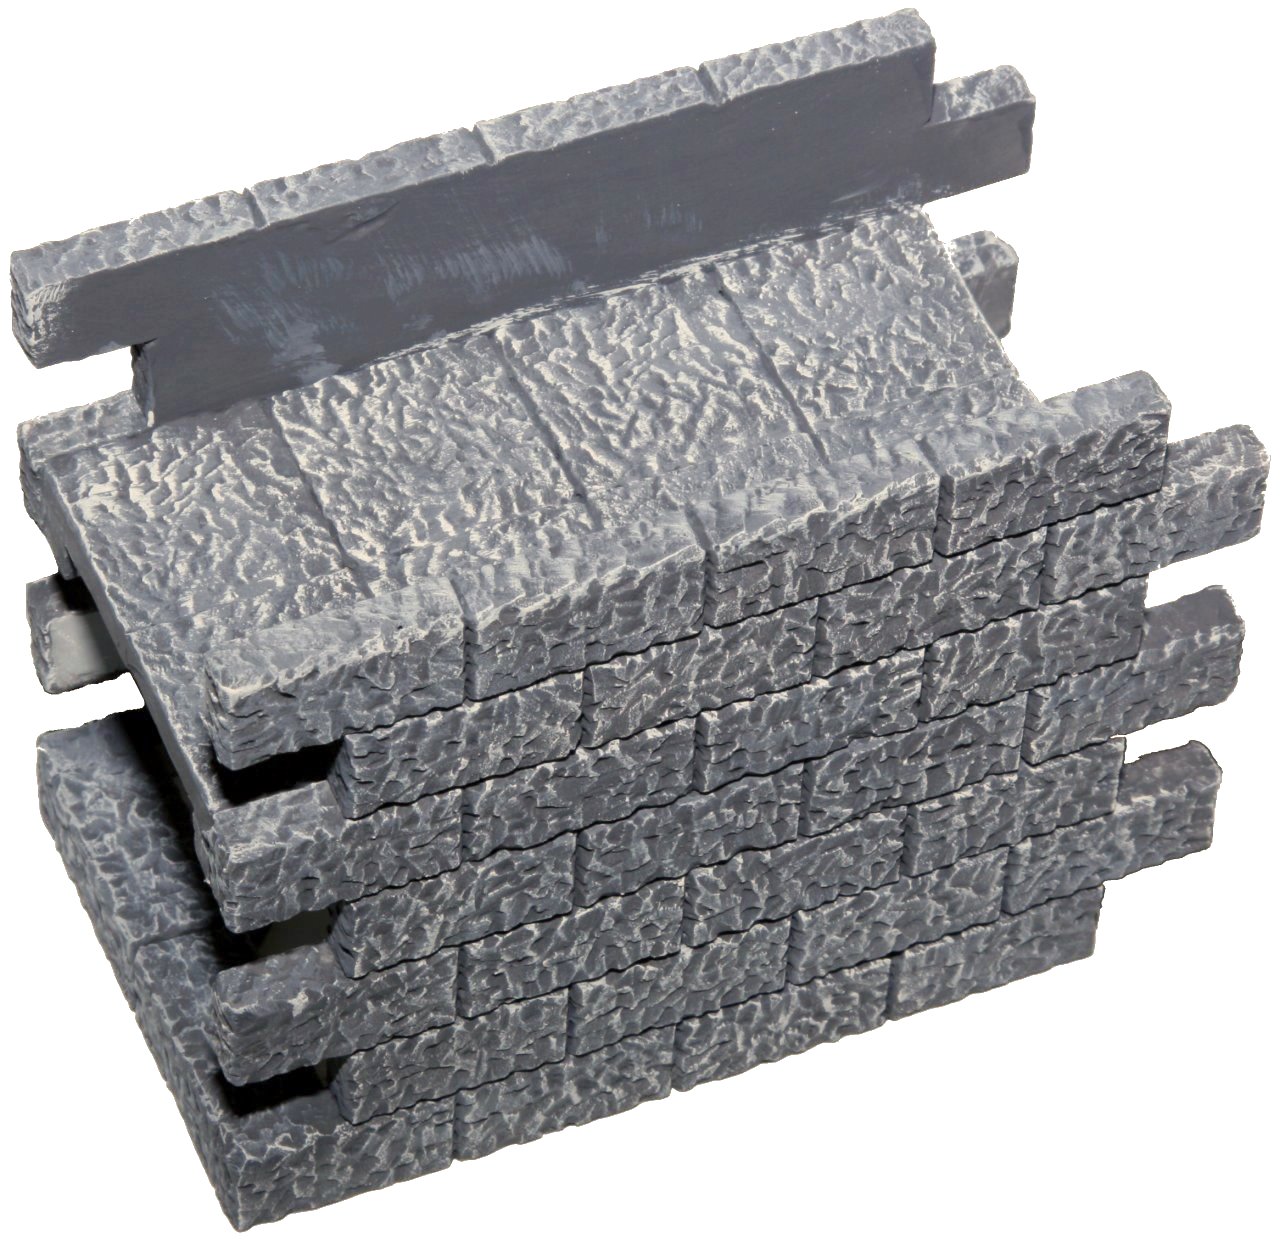
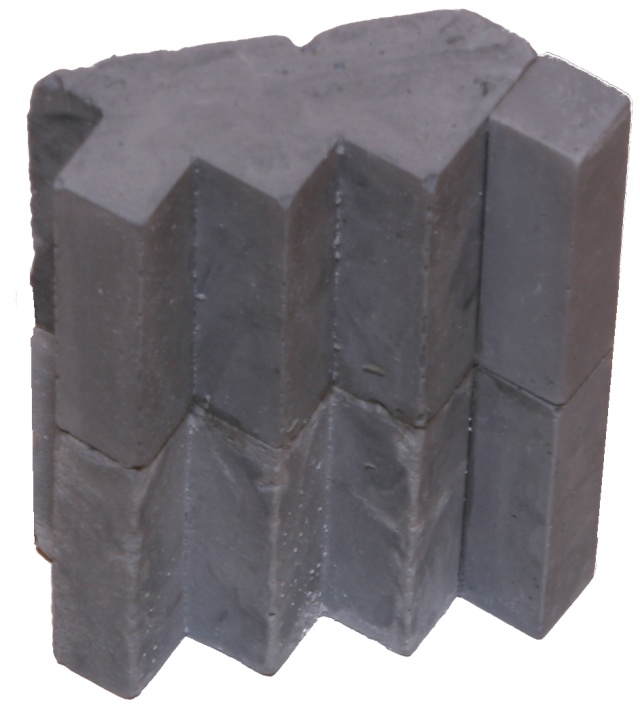
- 2 wall pieces
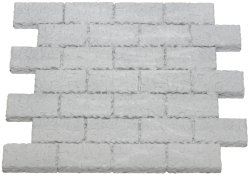
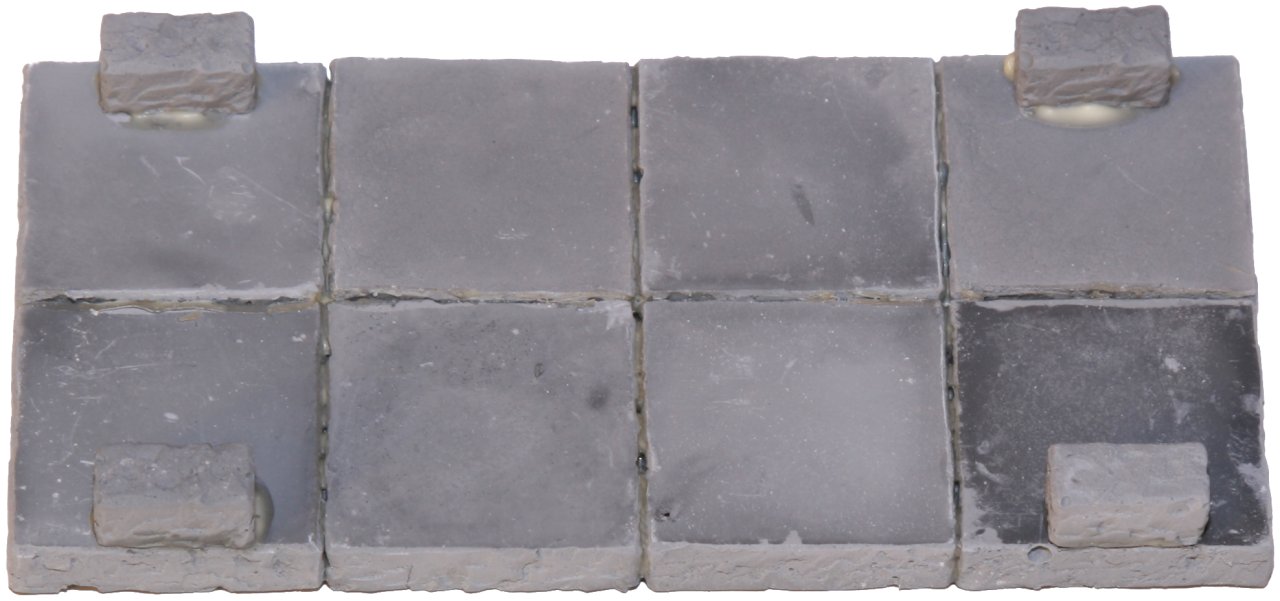
- 8 floor pieces, 1" square
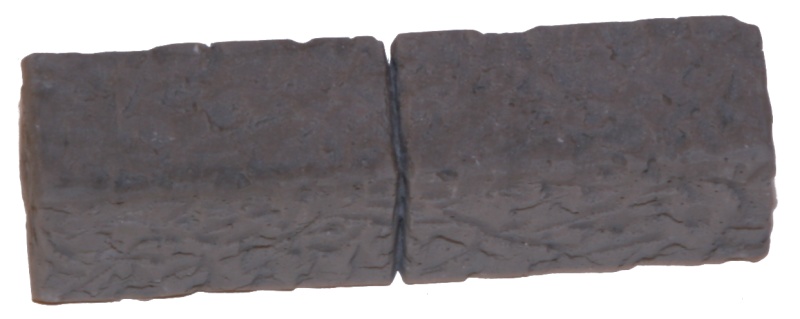
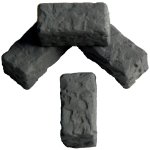
- 2 standard brick pieces, 2" long
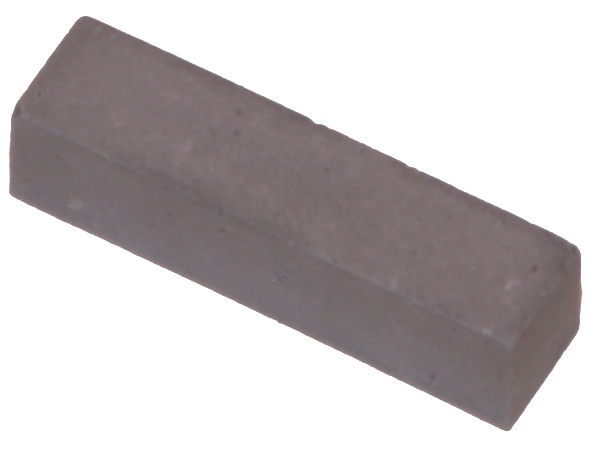
- 4 small bricks, ¼" x ½" or so
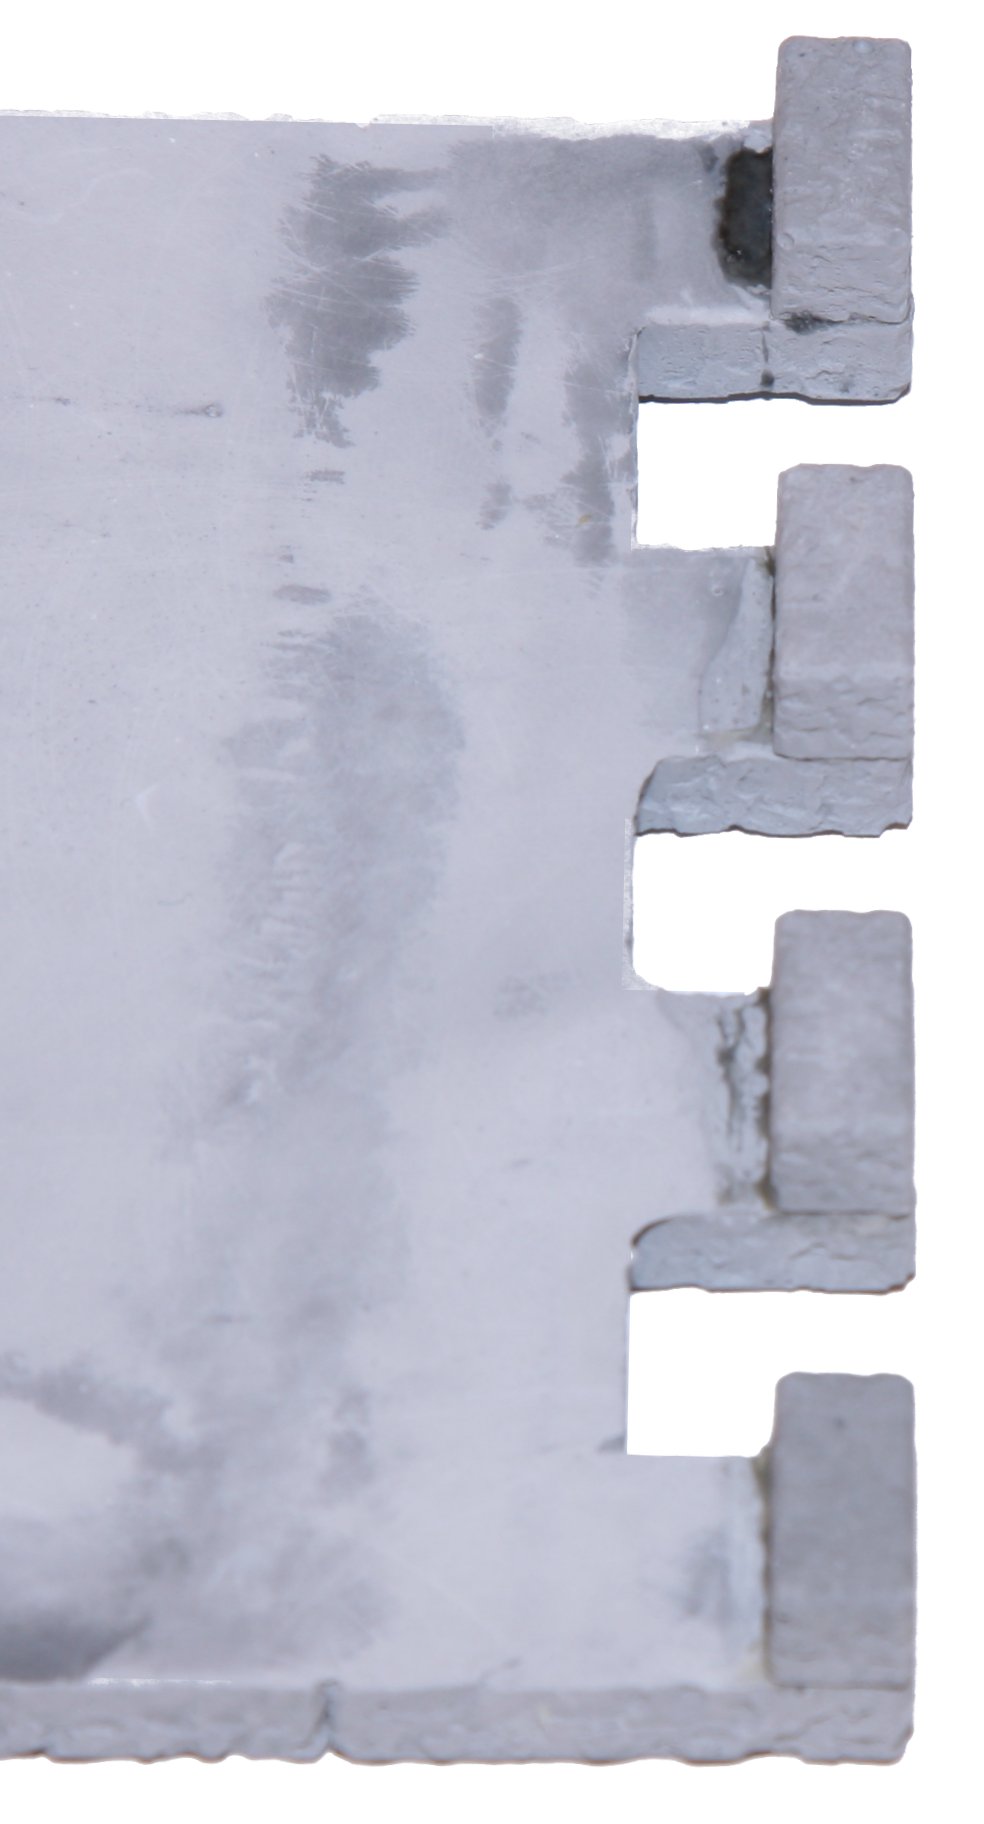
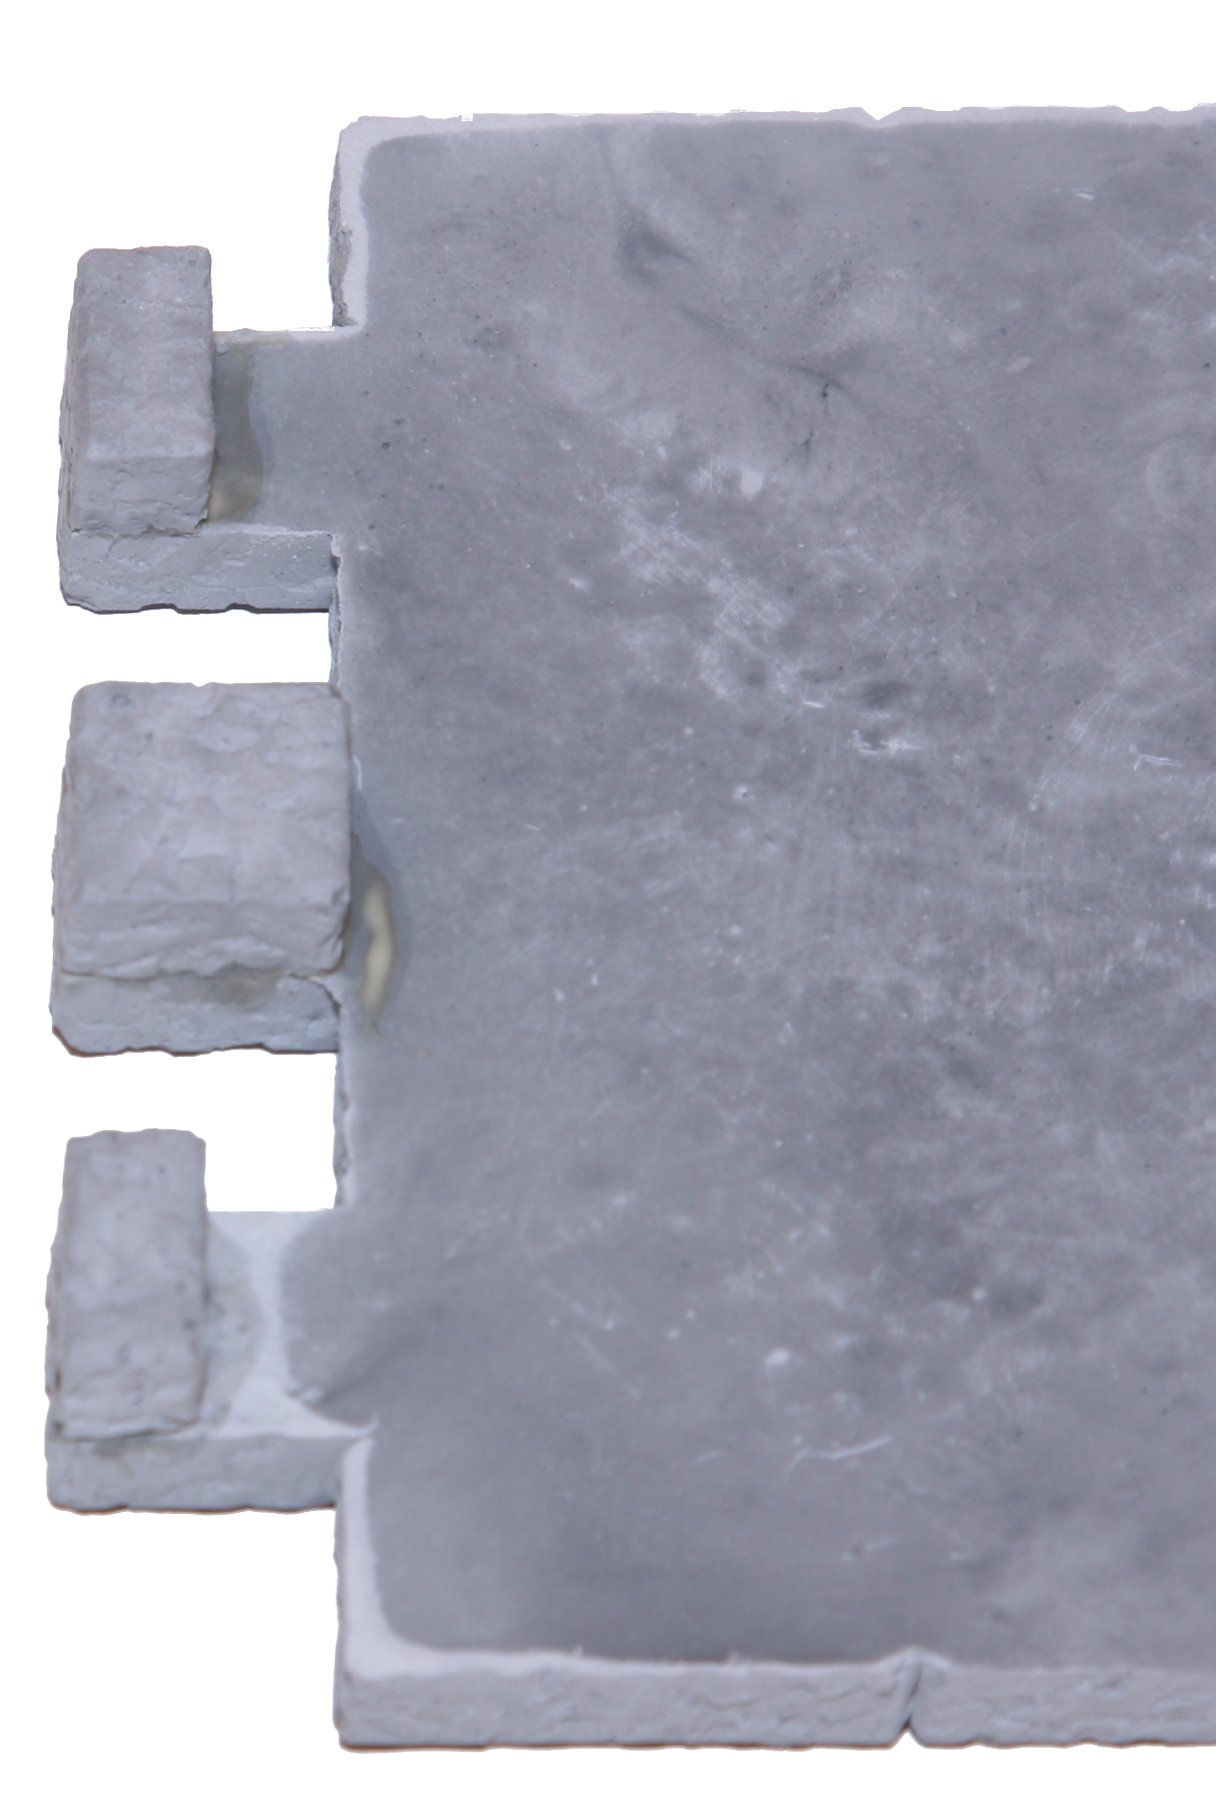
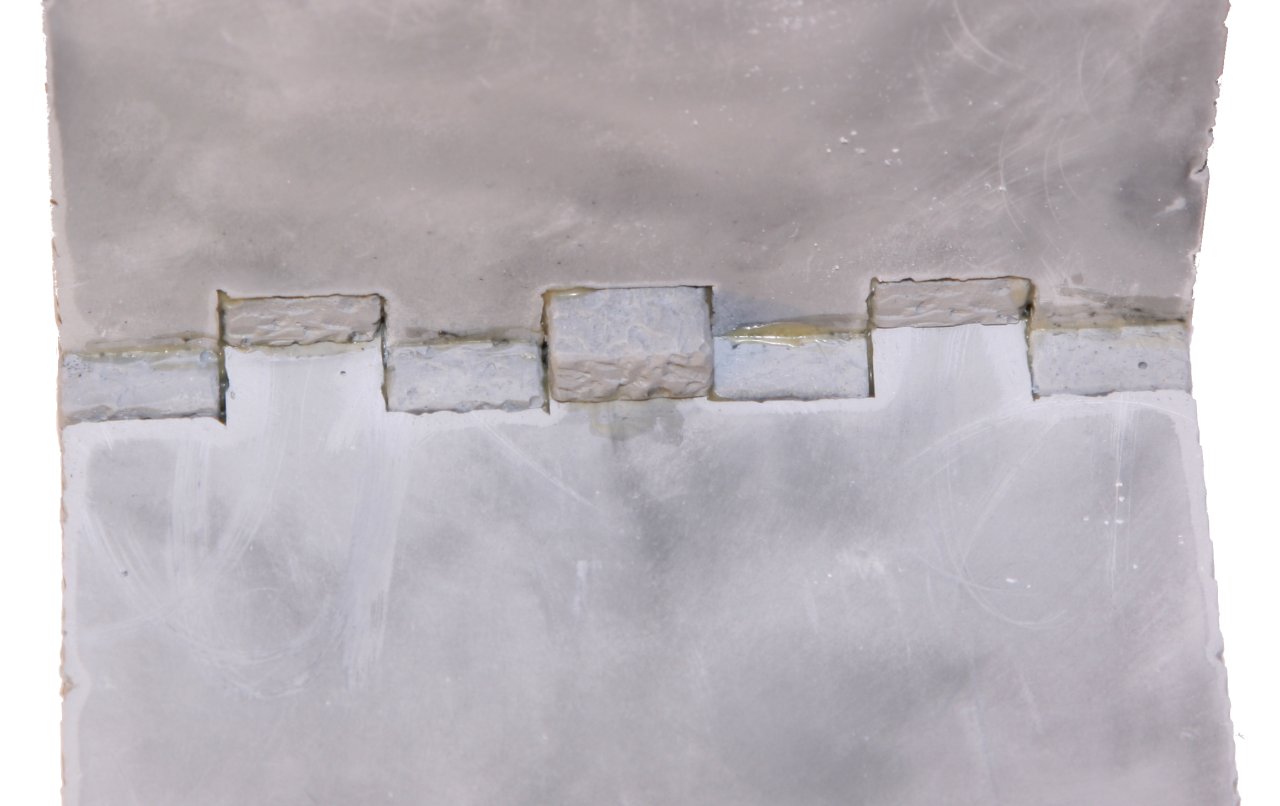
First, assemble the walkway. Glue together 8 1" square floor tiles, and optionally add small additional pieces on the underside of each corner (picture). Sand flat the backs of both wall pieces. Next, glue the walkway between the two wall pieces, leaving 1" between the top of the walkway and the top of the walls. Glue the two 2" long support pieces at the bottom of the wall at the same time. Using your square, make sure the wall is true. The two sides should be parallel to each other and not offset, either up or sideways.
The walkway may stick out a small amount beyond the wall piece on one side or the other. Sand it flat so that wall sections will mate seamlessly. It's easier if you align the walkway such that it sticks out slightly past the edge of the wall pieces on the side with 4 prongs sticking out.
Let your piece dry overnight and then see Bruce's excellent painting tutorial for tips on how to proceed from here.
Corner pieces are more difficult to build than straight wall sections. It's particularly important to make sure that the inner and outer corners are both level and perpendicular to the table so the piece mates properly with other pieces and does not rock. These corner pieces can be turned upside down if you need the corner to turn in the other direction. You'll want to build at least 4 of these pieces so you can enclose a town or castle. To build this piece, you will need:
- 4 wall pieces
- 6 small bricks, ¼" x ½"
- 1 small brick, ½" x ½"
- 16 floor pieces, 1" square
- 12 half size floor pieces, 1" x ½"
- 8 quarter size floor pieces, ¼" x 1"
The above produces a nice walkway that's symmetric about the corner. However, it takes a whole lot of those small floor pieces. If you don't have a bunch lying around, you may replace the floor pieces with the following, which produces an easier but less pretty walkway:
- 24 floor pieces, 1" square
- 4 quarter size floor pieces, ¼" x 1"
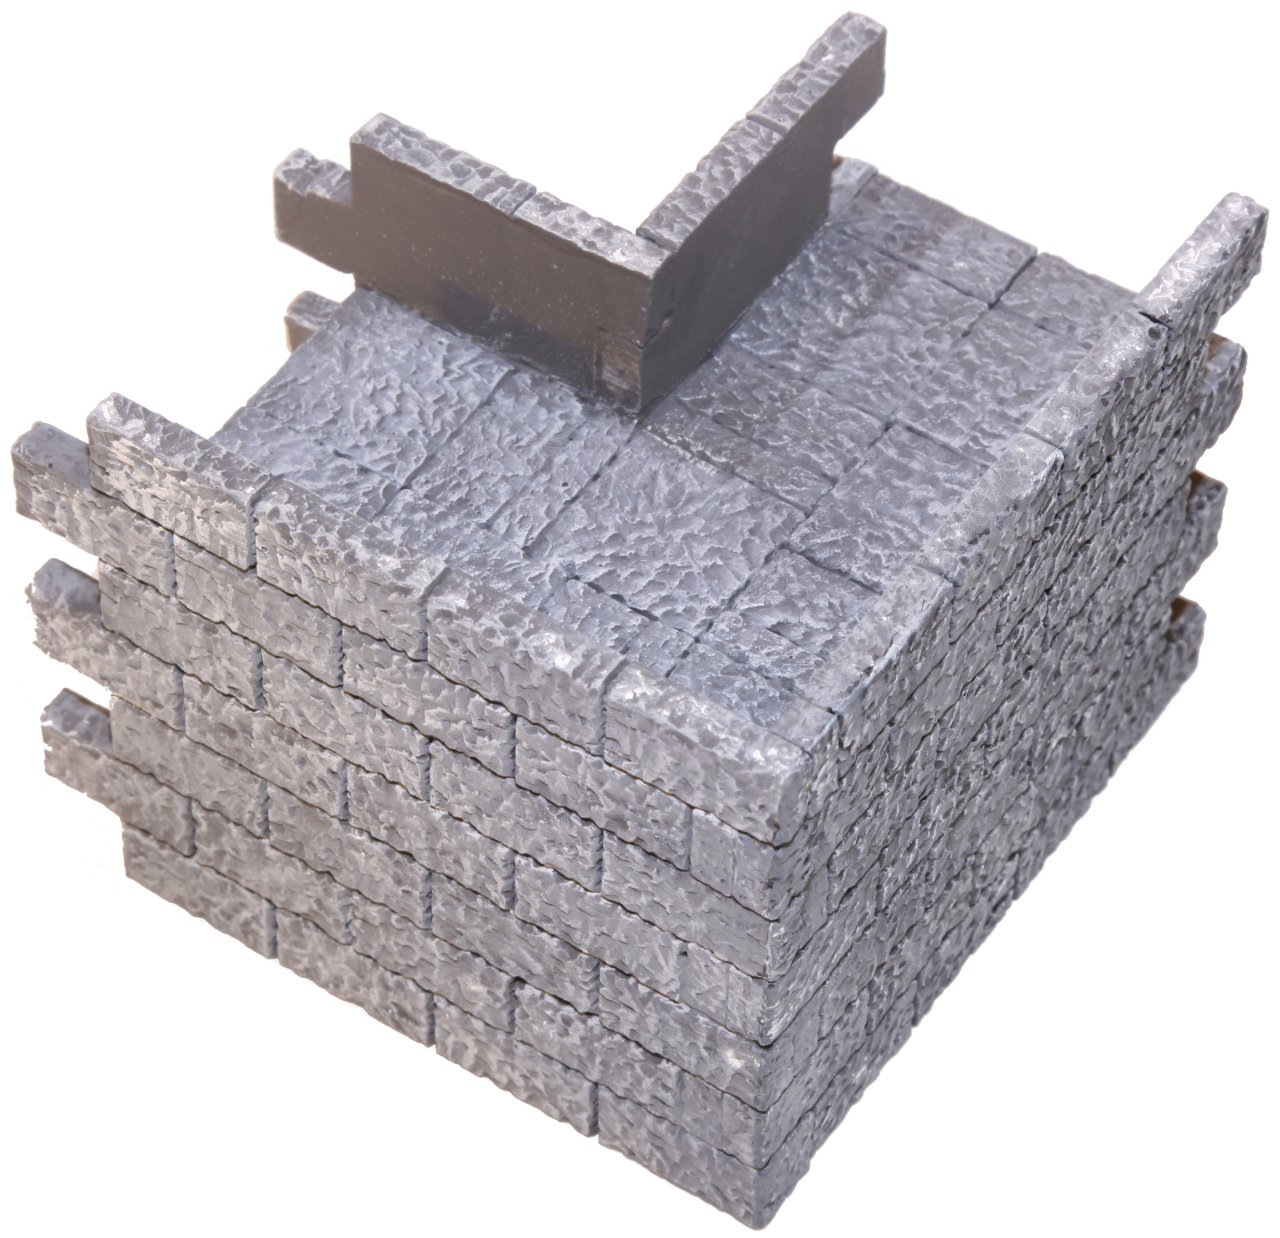
First, assemble the larger corner piece. Glue ¼" x ½" bricks to the 4 prongs sticking out of one side of one of the wall pieces (picture). Then glue the last two to the outer 2 prongs on the 3-prong side of one of the other corner pieces. Glue the ½" x ½" piece to the middle prong of that same piece (picture). When those two pieces dry, glue them together into a corner (picture), using your square angle to make sure they're aligned properly.
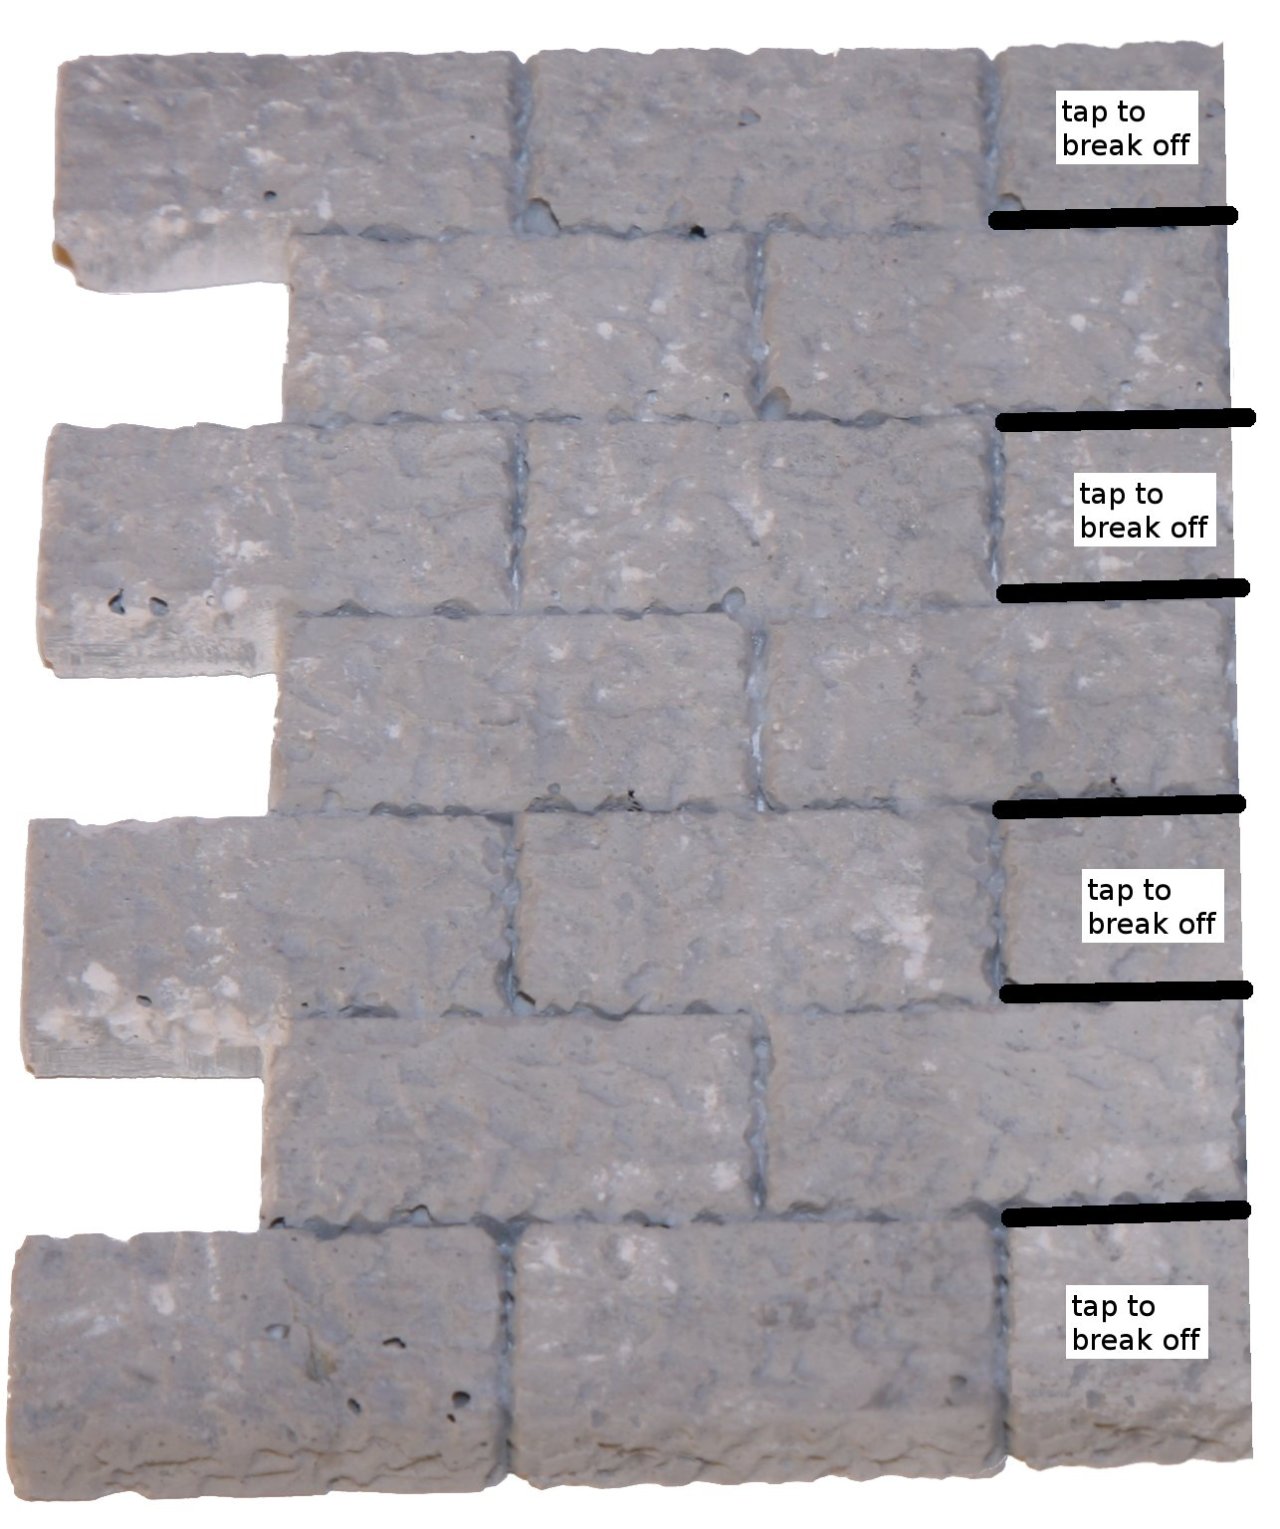
The inner corner is smaller, so you'll need to cut both of your remaining wall pieces in half. If you have a good saw, you can cut right through. If not, you're better off scoring the back of the piece with a straightedge and knife, and then breaking it. You want the pieces cut in the middle of the top and bottom rows of bricks. That is, your cut will be 2" from the 4-prong side and 2.5" from the 3-prong side if the wall plate (picture). Now you need to cut out the half-bricks that are left over on one side. With a small saw (bandsaw, scrollsaw, handsaw, etc.), cut along the sides of each of those bricks, making sure that the blade's kerf takes out part of the brick to be removed and doesn't damage the bricks you'll be keeping. Then simply tap the half-bricks with a knife, screw driver, or other similar tool and they should break off exactly where you want them to (picture). Sand the pieces so they slide together smoothly with a matching wall piece before continuing. Mostly this will mean cleaning up the edges left by the pieces you just broke off.
Glue the two short wall sections together. Use your square angle to make sure they're aligned properly. The prongs will stick out ¼". Cut or sand those off when the glue dries (picture).
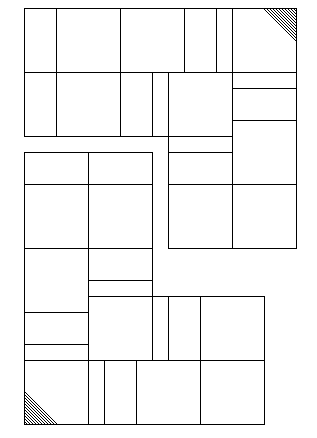
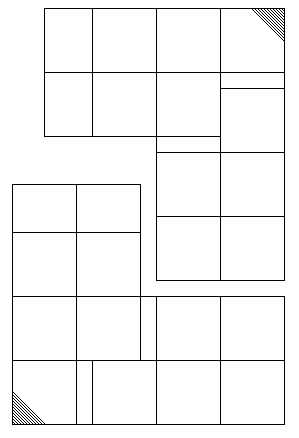
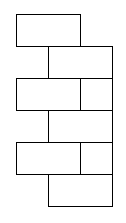
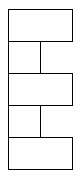
Now build two mirror-image walkway sections. Rather than describe the pattern, I have drawings for both the pretty walkway and the easier walkway. Note that the final two pieces on the shorter leg of the easier walkway are not full 1" floor tiles. They've been sanded or cut down to ¾" in length. Also, put a ¼" thick tile of some sort, perhaps a corner piece you have too many of lying around, on the back of the shaded part of the walkways. If you glue the pieces upside down, you'll make sure the walkway surface is flat even if some of your pieces were cast imperfectly and have differing heights. You can lay the pieces out right side up or upside down; just make sure you do both walkways the same way.
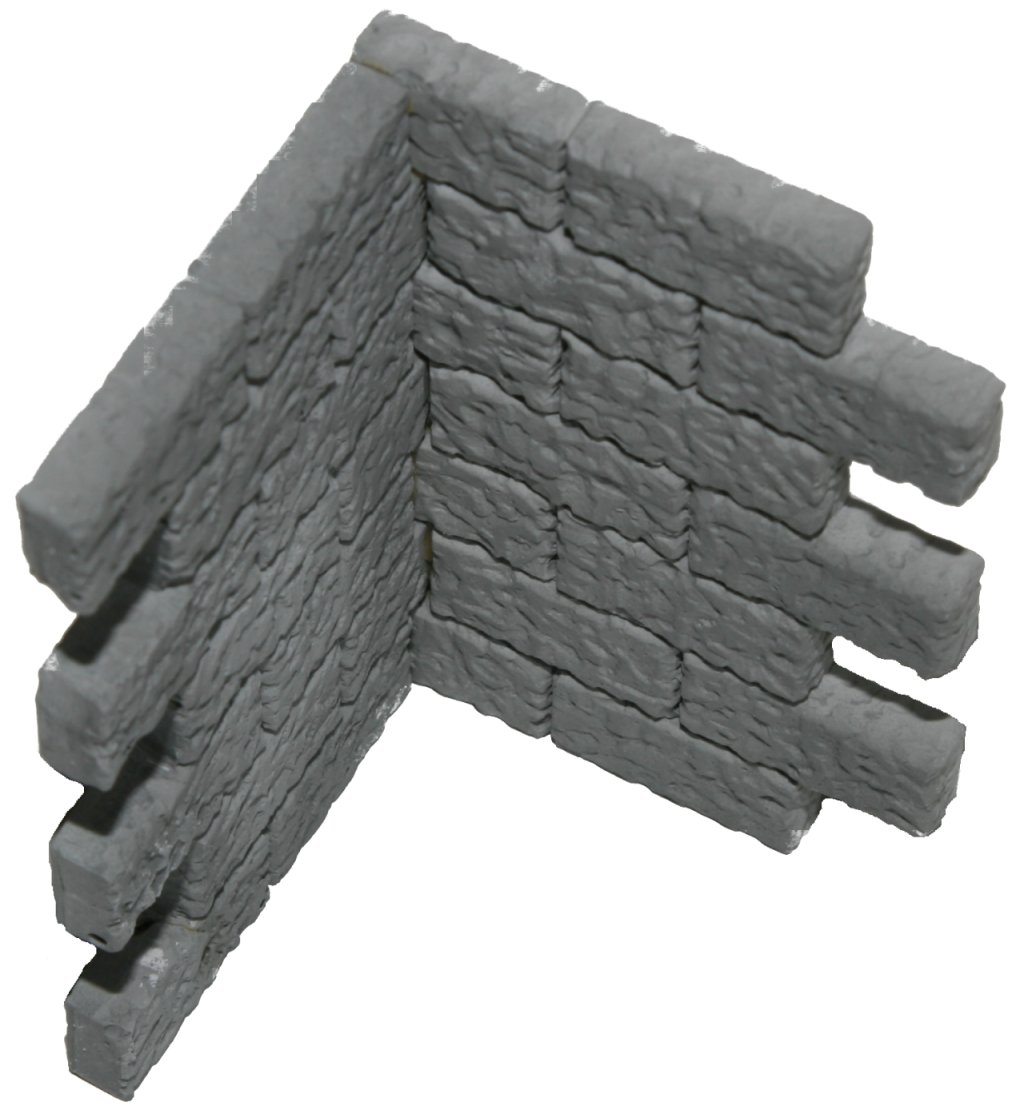
When the inner and outer corners are both dry and the walkways are very tacky, if not completely solid, glue the two walkways and two corners together. Lie the larger corner down on one of its faces so you can glue all the pieces together at once to make sure they're square. If you put the outer corner inside your Lego square, you'll be able to push everything together fairly hard without worrying about anything breaking. The small brick sticking out on the inside of the larger corner will keep the two walkways properly spaced in the middle (picture). You'll need to manually line up the walkway ends with the ends of your corner pieces. Wedging (or even gluing) a 1" long piece of some sort between the two walkway surfaces at either end can help. Add the inside corner and manually clamp the pieces together for a few minutes until they hold together on their own. Using tacky glue will speed that up. Then pick the piece up and set it right side up on a flat surface, using your square corner to make sure everything is properly aligned.
Let your piece dry overnight and then see Bruce's excellent painting tutorial for tips on how to proceed from here.
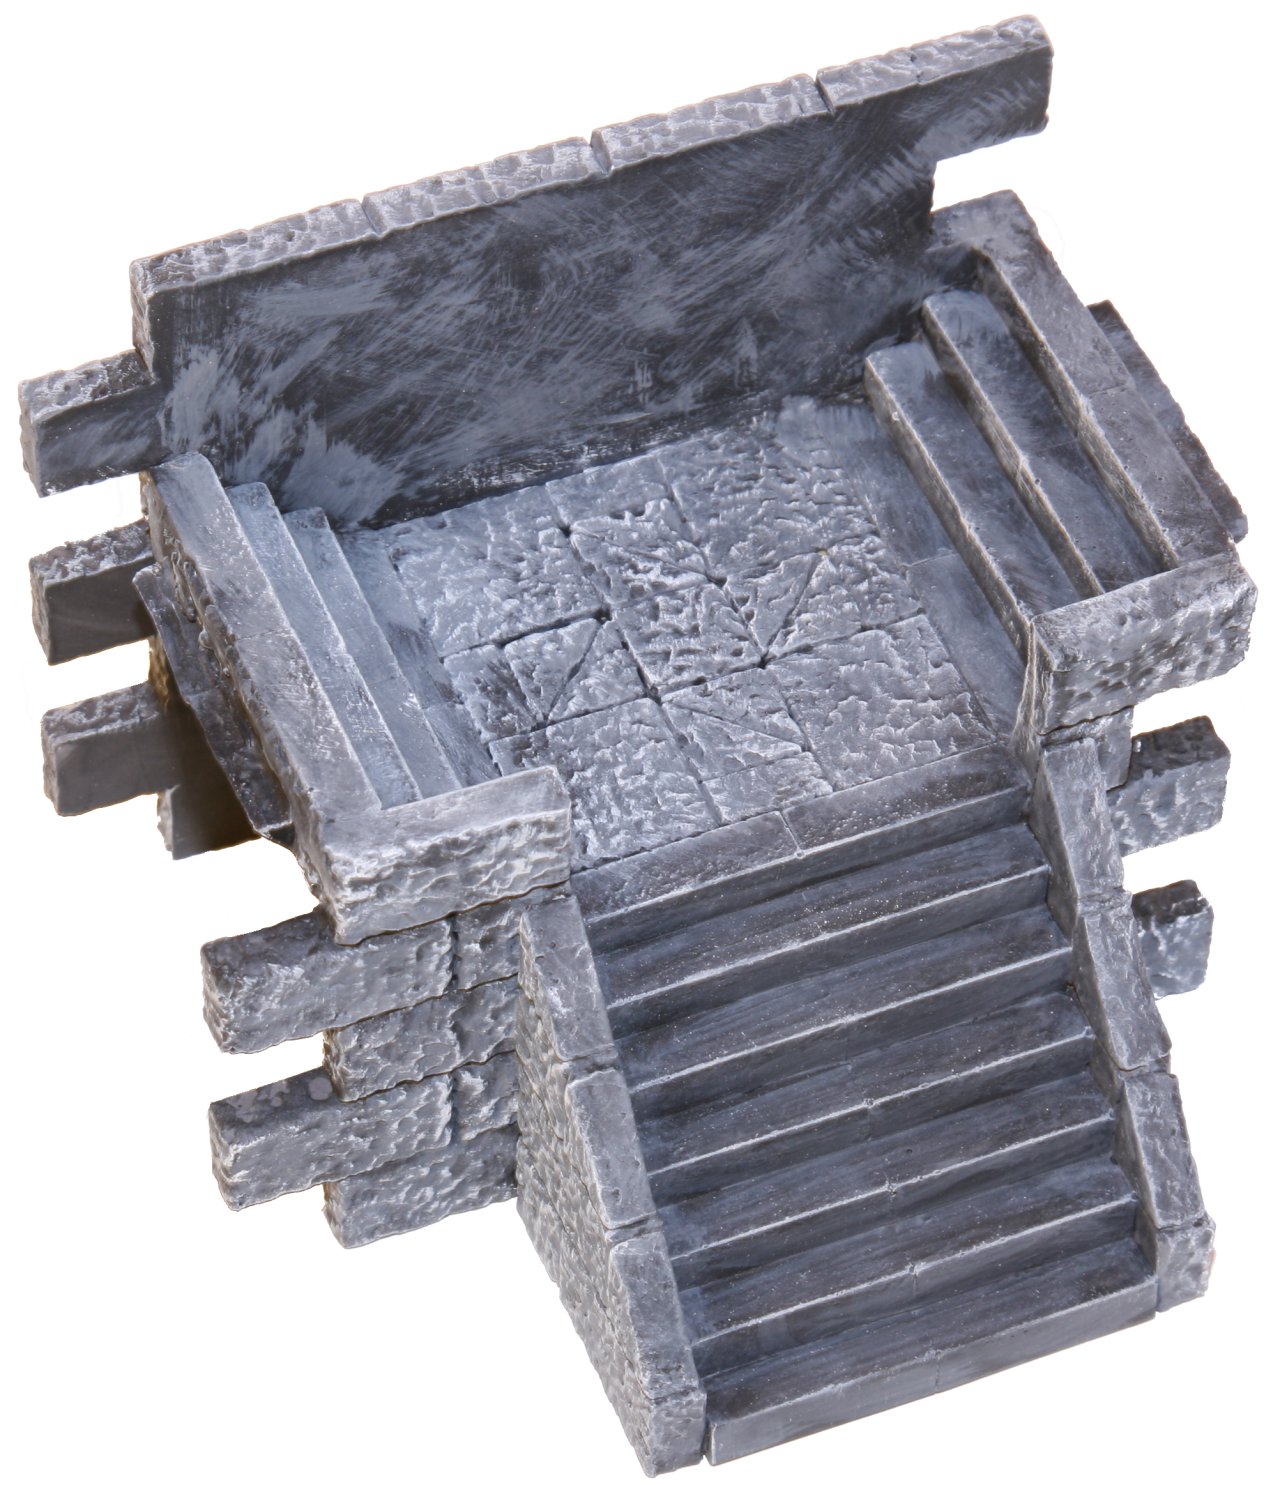
The stair piece is the most difficult to build and to align properly. Fortunately you only need one, maybe two. To build this piece, you will need:
- 1 wall piece
- 4 pieces of wall pieces left over from making corners
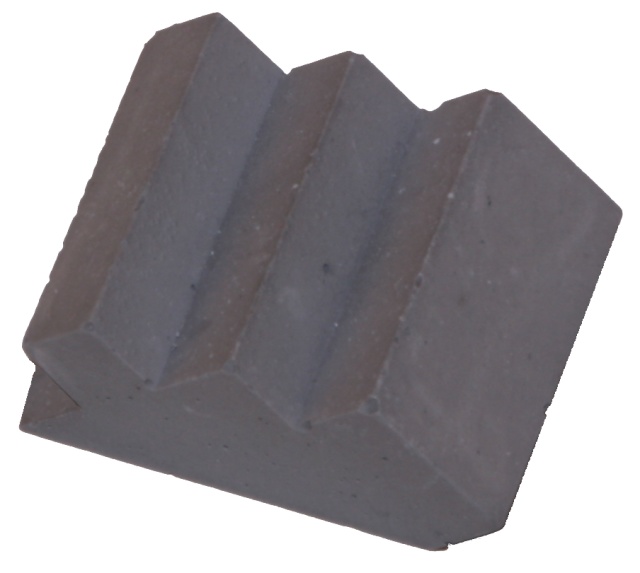
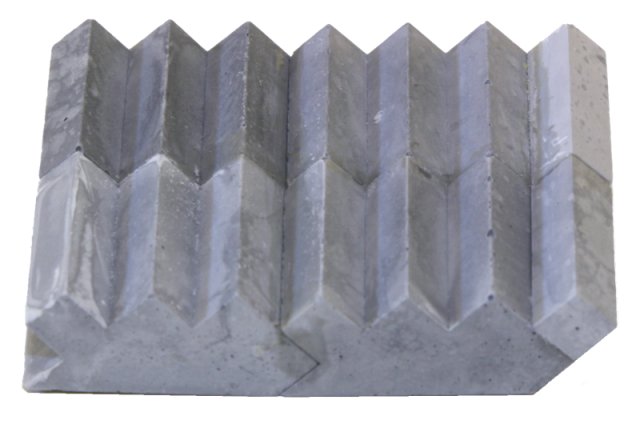
- 8 stair sections
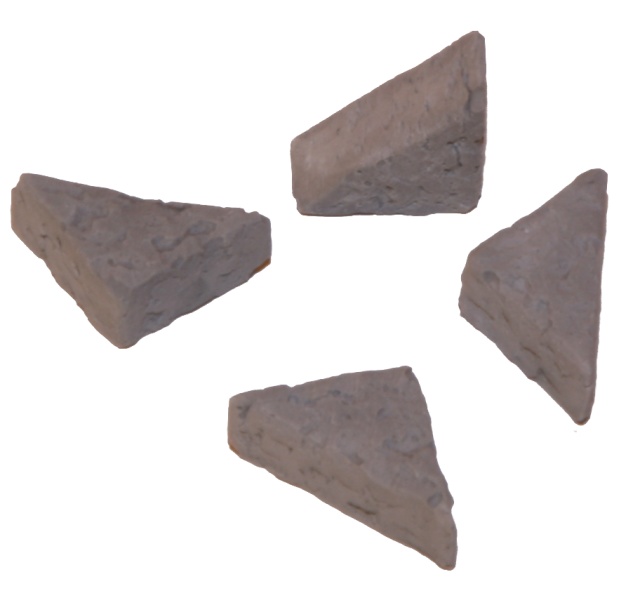
- 6 small angled bricks, ½" x ½"
- 4 floor pieces, 1" square
- 6 smooth stair pieces, ¼" x ½"
First, assemble the stair sections. Glue two stair pieces together, side to side, making sure the ends are nicely lined up. Do this 4 times. Then glue two of these pairs end to end to make the long main staircase. Then glue a pair of smooth stair pieces to the bottom of each of the three staircases you've just built, forming the bottom step (picture 0, picture 1). If you'd like more space for a decorative landing, omit this step on the two shorter staircases.
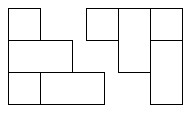
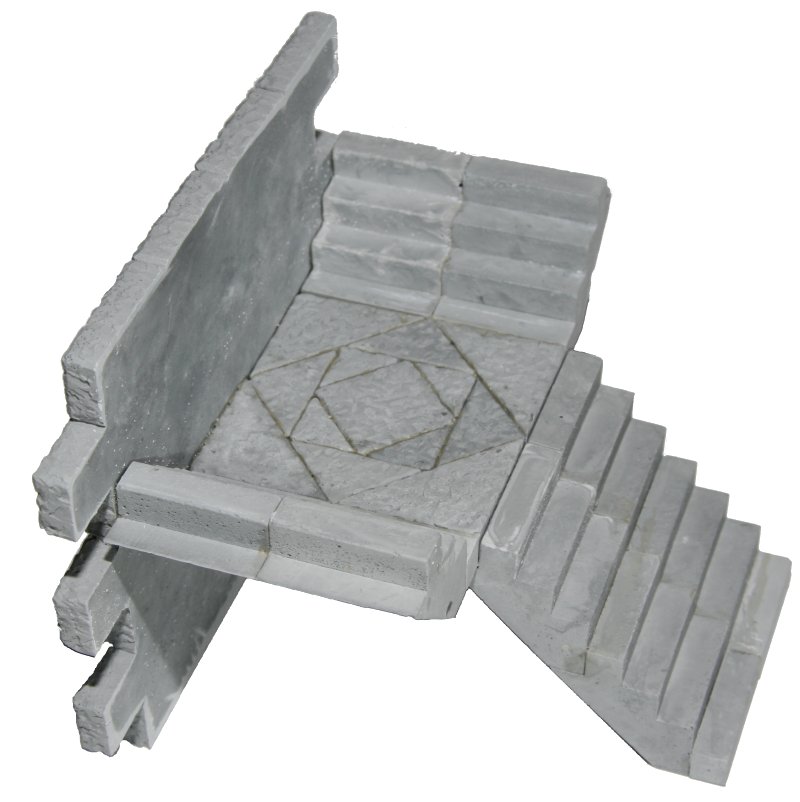
Build the landing. The simplest landing consists of 4 1" square floor tile pieces, but you can design an intricate pattern if you'd prefer. Glue the landing and the two shorter staircases together (picture). Line these three pieces up on the back of a wall piece to make sure they're properly aligned. The landing should be level, and the outer edges of the staircases should be 4" apart, not including the triangular lip that sticks out of each side.
Break apart some of the spare wall pieces left over from making corners to create a section of wall 1.5" wide by 3" tall, and a section 1" wide and 2.5" tall. If you can also get a pair of triangular pieces such that the bottom row is 1.5", the middle row is 1", and the top row ½", that's good too. Otherwise build them out of floor tiles from mold #201. These pieces form the inside wall and guardrails by the main staircase.
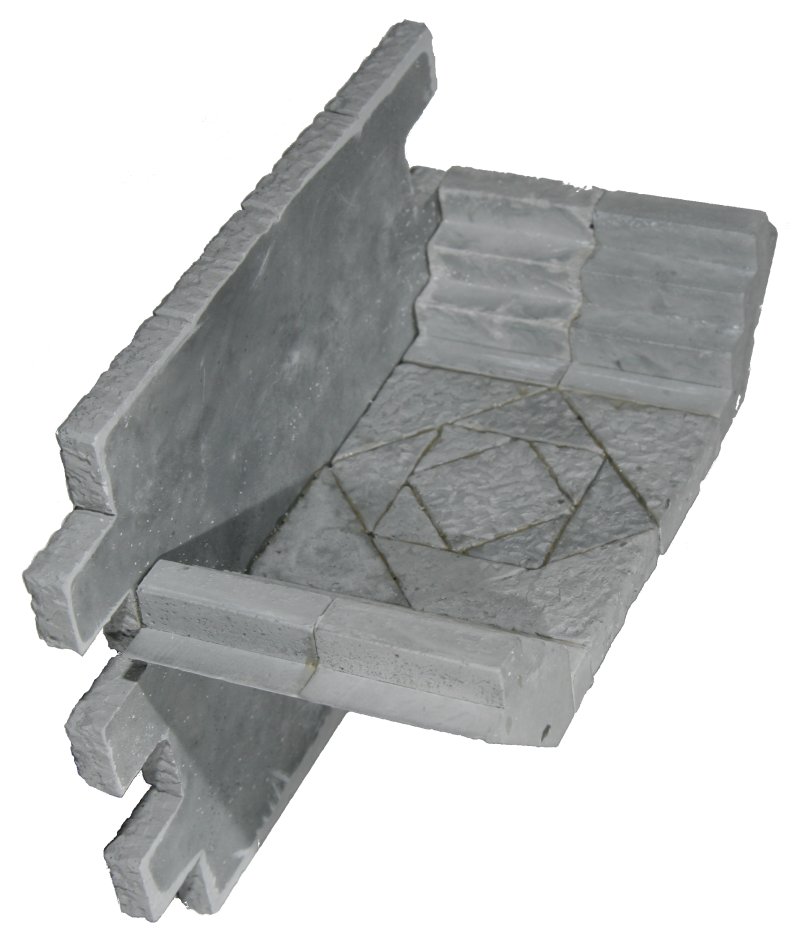
Glue the landing and stair assembly on to the back of a wall piece, using the main staircase as a support and a guide to make sure the landing is level. Test-fit the main staircase under the walkway to make sure that when you glue the stairs on, they will touch the ground and the piece will not rock. When the platform and second sets of stairs are firmly glued together, check to be sure they fit smoothly into adjacent straight wall sections. If the stair sections are too wide, sand the stairs until the pieces slide together smoothly. Then glue on the main stairs, again making sure the piece is level (picture). When dry, attach the small wall pieces to the front of the top stairs and to the sides of the main stairs (picture). Make sure the front pieces are parallel to the main wall piece, and that the sides of the stairway are parallel to each other, and straight up and down. Before the glue dries, test fit each side of your new stairway piece to another wall section to be sure the edges line up properly. To finish up, add the small triangular bricks to the walls on either side of the main staircase to form a guardrail.
Let your piece dry overnight and then see Bruce's excellent painting tutorial for tips on how to proceed from here.